how-to-format-a-resume-in-google-docs
How To Format a Resume in Google Docs With Templates & Tabs
Google Docs is free, accessible from any browser, and already part of most recruiters' daily toolkit, which makes it a solid choice when you need to format a resume quickly. But if you've ever tried t...
Written by: Saply Team

How To Format a Resume in Google Docs With Templates & Tabs
Google Docs is free, accessible from any browser, and already part of most recruiters’ daily toolkit, which makes it a solid choice when you need to format a resume quickly. But if you’ve ever tried to how to format a resume in Google Docs from scratch, you know it can get frustrating fast. Margins shift, spacing breaks, and getting sections to line up takes more clicks than it should.
This guide walks you through the full process: picking the right template, setting up clean layouts with tables and tab stops, and adjusting typography so the final document looks polished and professional. Every step uses built-in Google Docs features, no add-ons required.
And if you’re a recruiter formatting dozens of CVs per week, there’s a faster path. At Saply, we built a plugin that formats and tailors resumes directly inside Google Docs using AI, so you can skip the manual work entirely. But whether you go the manual route or automate it, understanding the fundamentals covered here will help you produce better resumes, faster.
What you need before you start
Before you start learning how to format a resume in Google Docs, a few minutes of preparation will save you significant backtracking later. Getting the basics in place before you open any template or touch a single margin means you won’t have to stop mid-process to hunt for files or redo settings you skipped.
A Google account and the right document settings
You need a Google account to access Google Docs. If you already use Gmail or Google Drive, you’re set. Open a new document at docs.google.com and confirm these settings before you type anything:
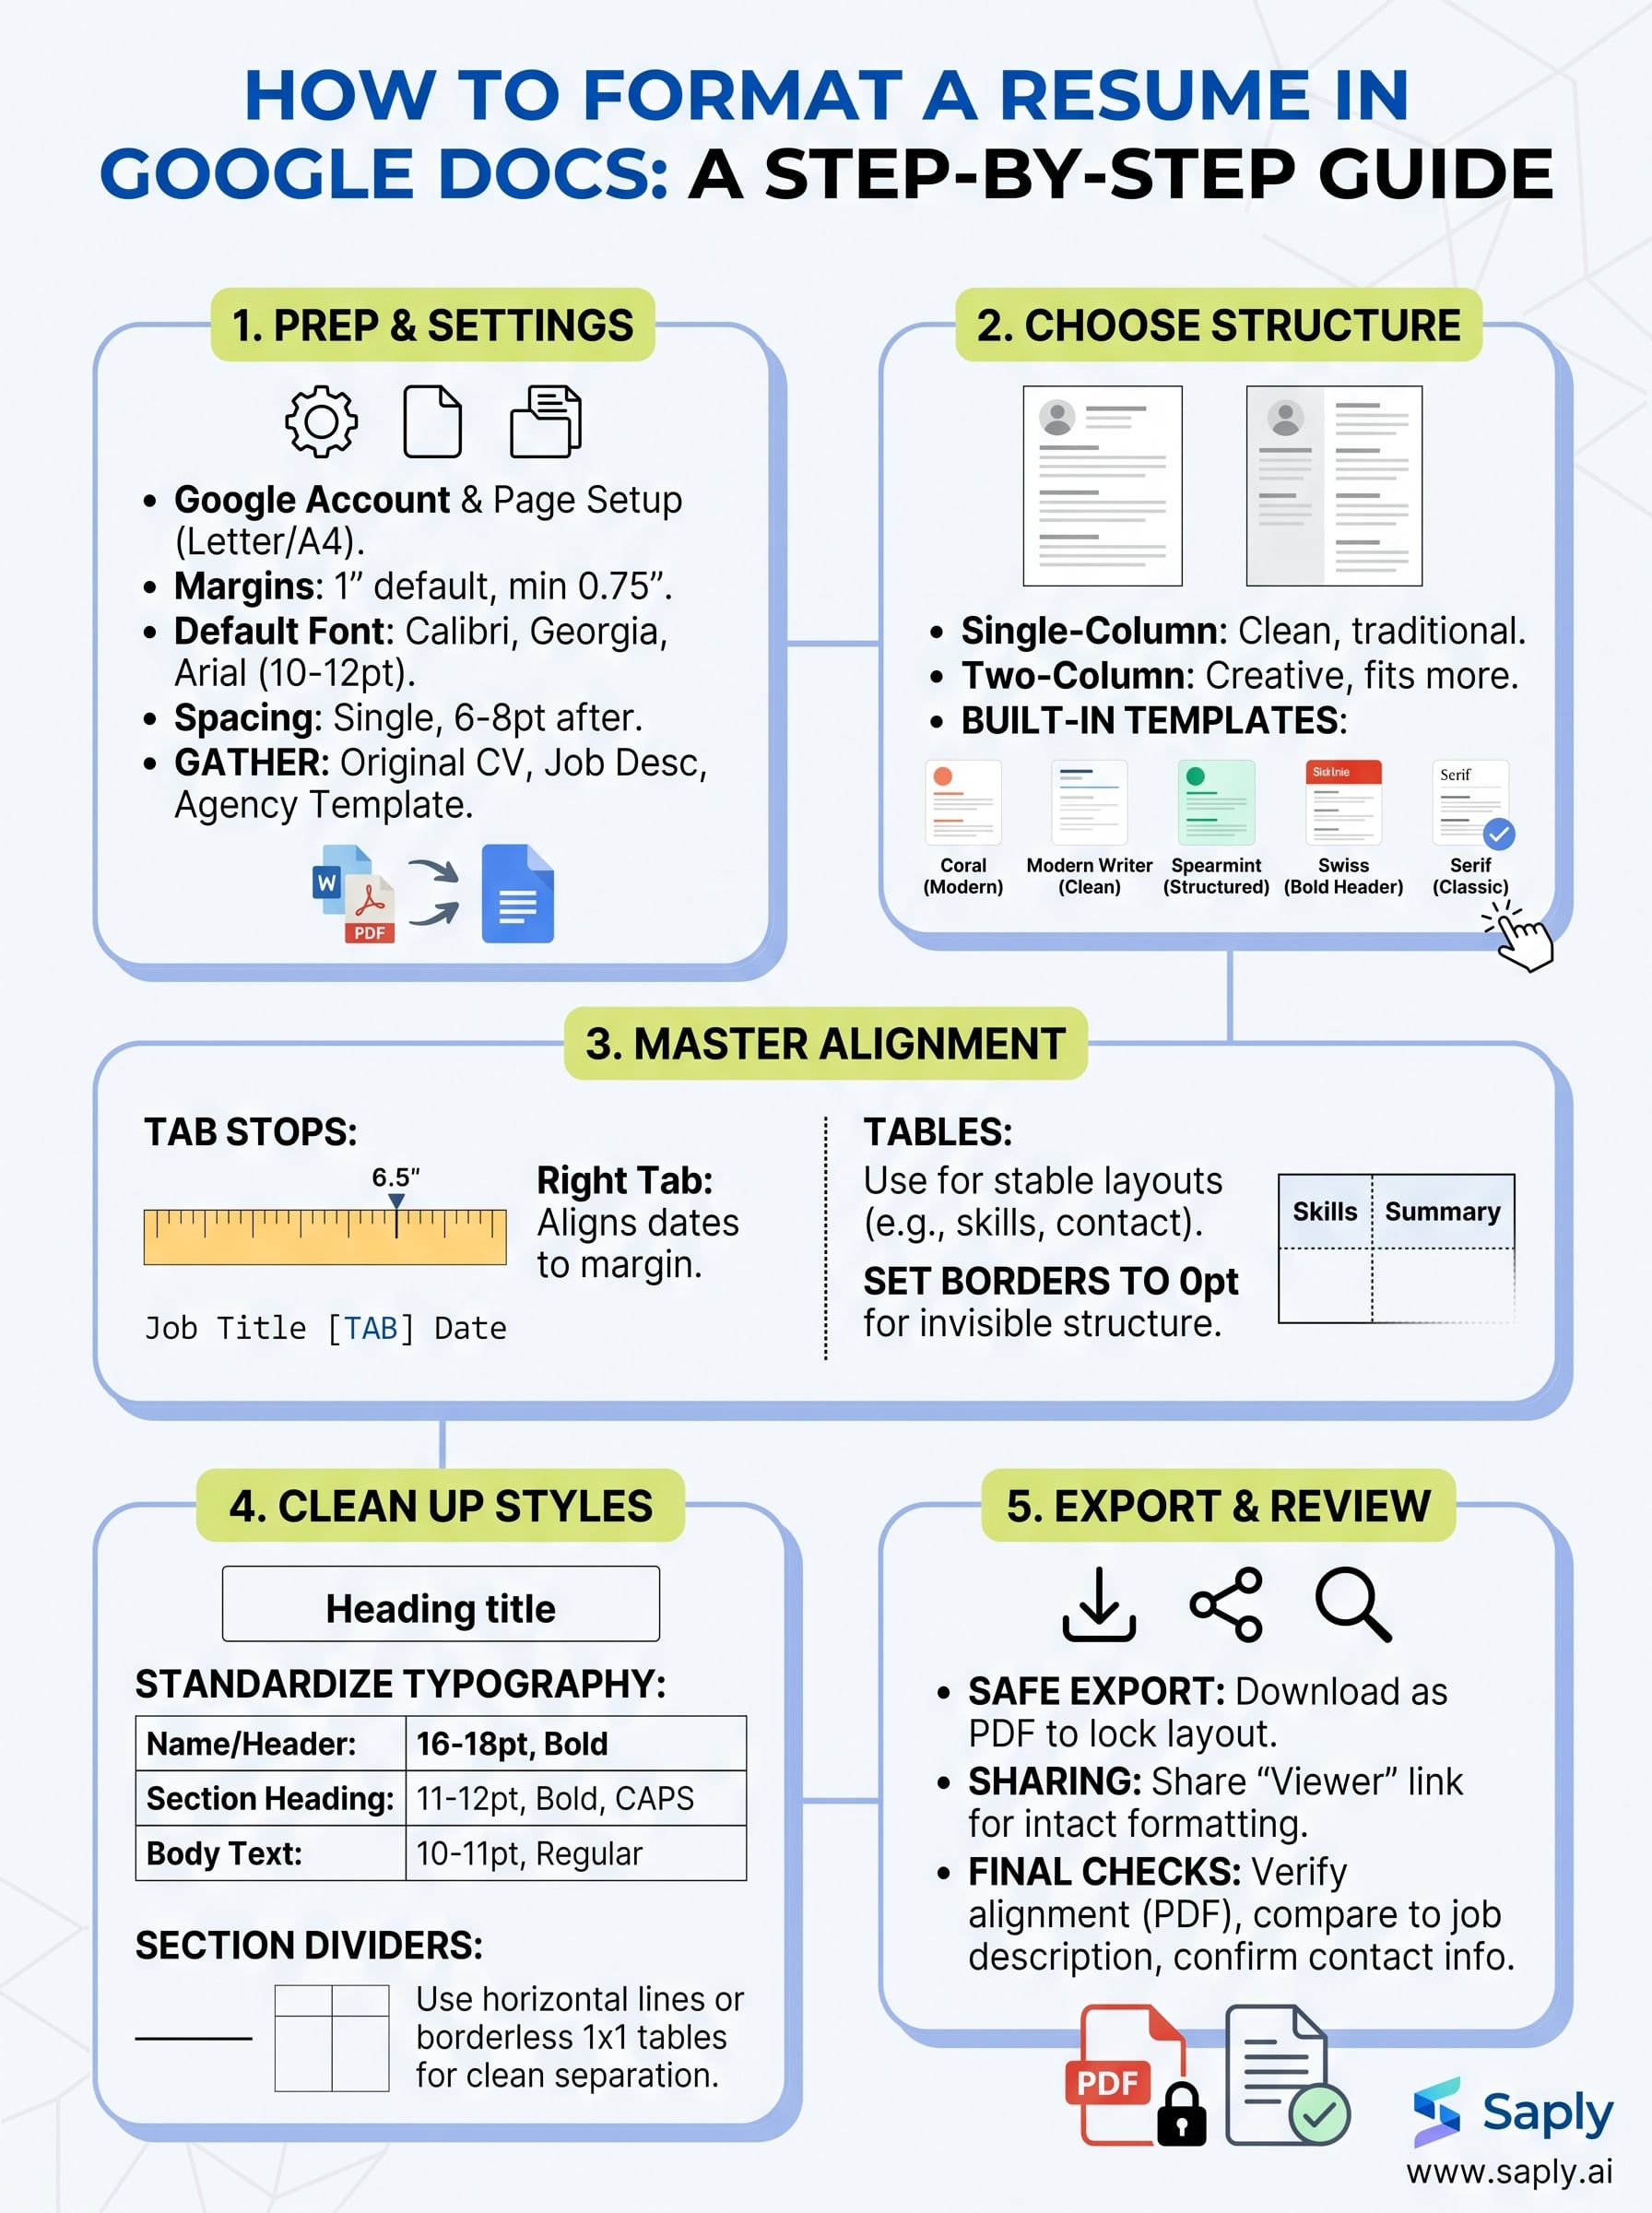
- Page size: Go to File > Page setup and set the page to Letter (8.5 x 11 inches) for US submissions, or A4 for international roles.
- Margins: Default to 1 inch on all sides. You can reduce to 0.75 inches if the content runs long, but never go below that.
- Font: Choose a default font before you begin. Calibri, Georgia, or Arial at 10-12pt are readable and safe for professional documents.
- Line spacing: Set paragraph spacing to single, with 6-8pt spacing after each paragraph, under Format > Line & paragraph spacing.
Fixing document settings after you’ve already added content wastes time because formatting changes cascade in unpredictable ways.
The source files and content you need ready
Gathering your raw materials before you open a blank document keeps the process from stalling. Have the following ready before you begin:
- The candidate’s original CV in any format: Word, PDF, or plain text
- The job description you’re tailoring the resume toward, with required skills and responsibilities clearly visible
- Your agency’s approved resume template, either as a Google Doc or a Word file uploaded to Drive
- Any client-specific preferences such as header styles, fonts, or branding requirements
Your candidate’s original document is your content reference, not your formatting base. Pasted content from Word or PDF regularly breaks spacing, introduces invisible characters, and resets fonts mid-document. Plan to rebuild the layout from scratch using the source material as a guide, not a shortcut.
Pick the right resume structure and template
The structure you choose before you touch any formatting shapes every decision that follows. When you think about how to format a resume in Google Docs, picking the right layout upfront prevents you from rebuilding sections halfway through because the design doesn’t fit the content or the role.
Choose a layout that matches the role
Single-column layouts work best for traditional industries like finance, law, and healthcare, where hiring managers expect a clean, linear reading experience. Two-column layouts suit creative or technical roles and let you fit more information on one page, but they require more careful table setup to keep alignment stable across different devices and exported file types.
If you’re unsure which layout to use, default to single-column. It exports cleanly, reads predictably, and rarely breaks when printed or opened in other applications.
Start from a Google Docs resume template
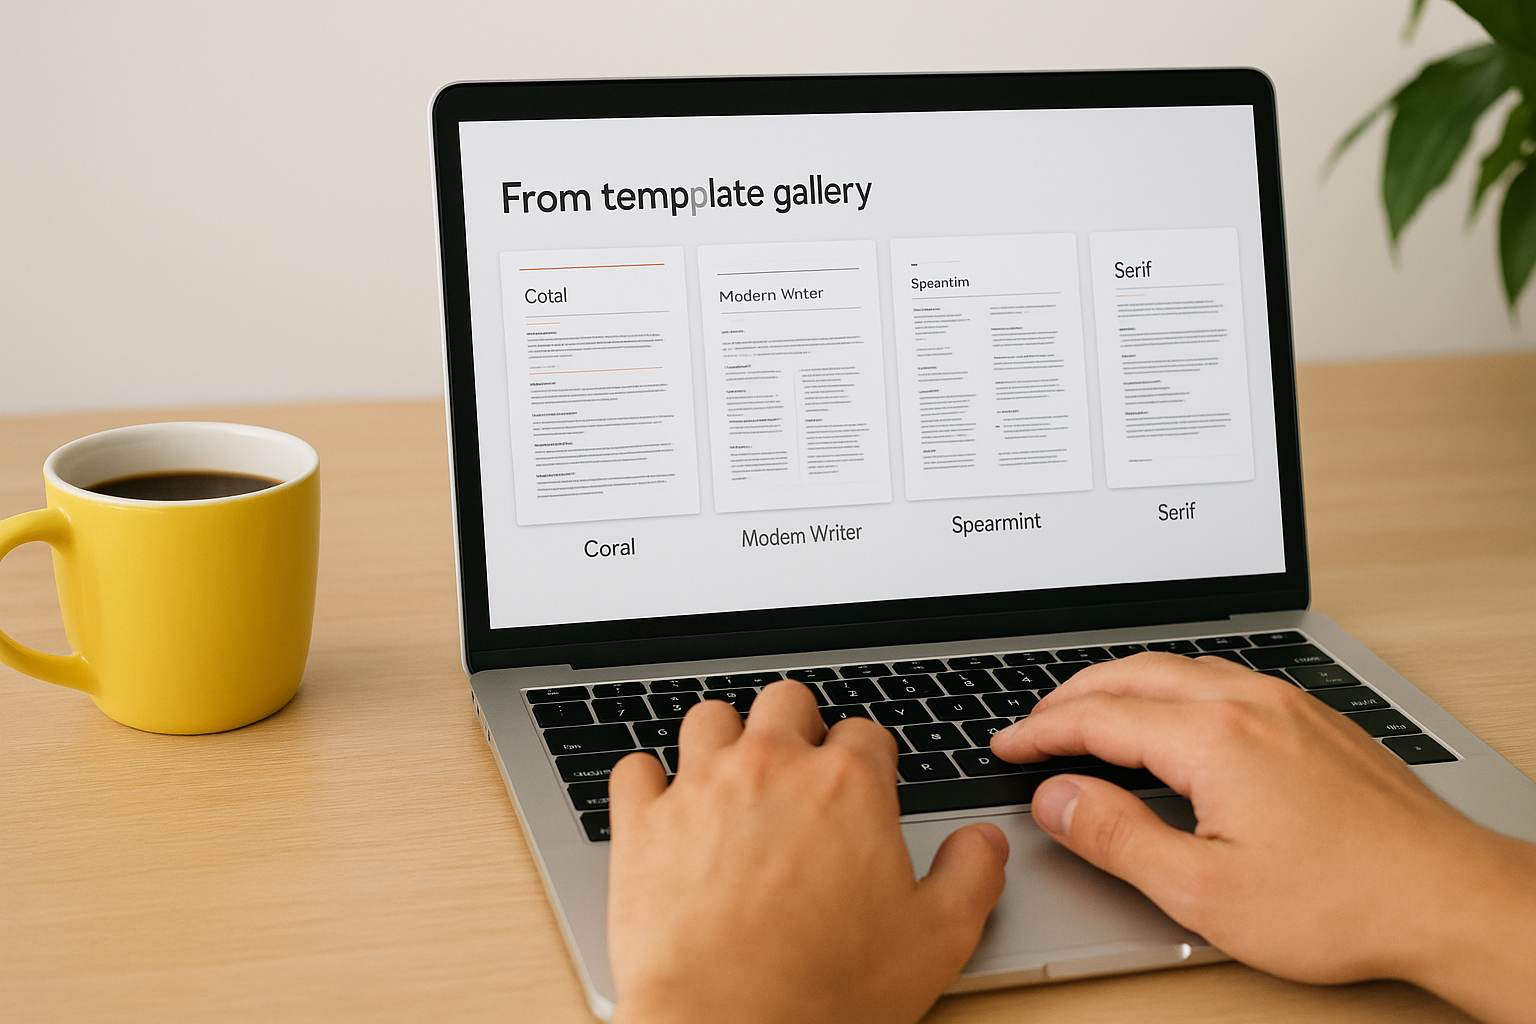
Google Docs includes five built-in resume templates you can access at no cost. Go to File > New > From template gallery, then scroll to the Resumes section. The available options are:
| Template | Style | Layout |
|---|---|---|
| Coral | Modern with color accents | Single-column |
| Modern Writer | Clean and minimal | Two-column header |
| Spearmint | Structured and traditional | Single-column |
| Swiss | Bold header design | Single-column body |
| Serif | Classic and conservative | Single-column |
Pick one as your structural starting point, then adjust fonts, spacing, and colors to match your agency’s branding. Editing an existing template is consistently faster than building from a blank page, and it gives you a stable formatting baseline so your layout doesn’t collapse when you start adding content.
Set up alignment with tabs, tables, and columns
Getting alignment right is where most formatting attempts in Google Docs break down. Random spacing, misaligned dates, and shifting columns all come from relying on the spacebar instead of using the tools Google Docs actually built for layout control. Learning how to format a resume in Google Docs means replacing manual spacing habits with tab stops and tables as your primary alignment tools.
Use tab stops to align dates and right-side text
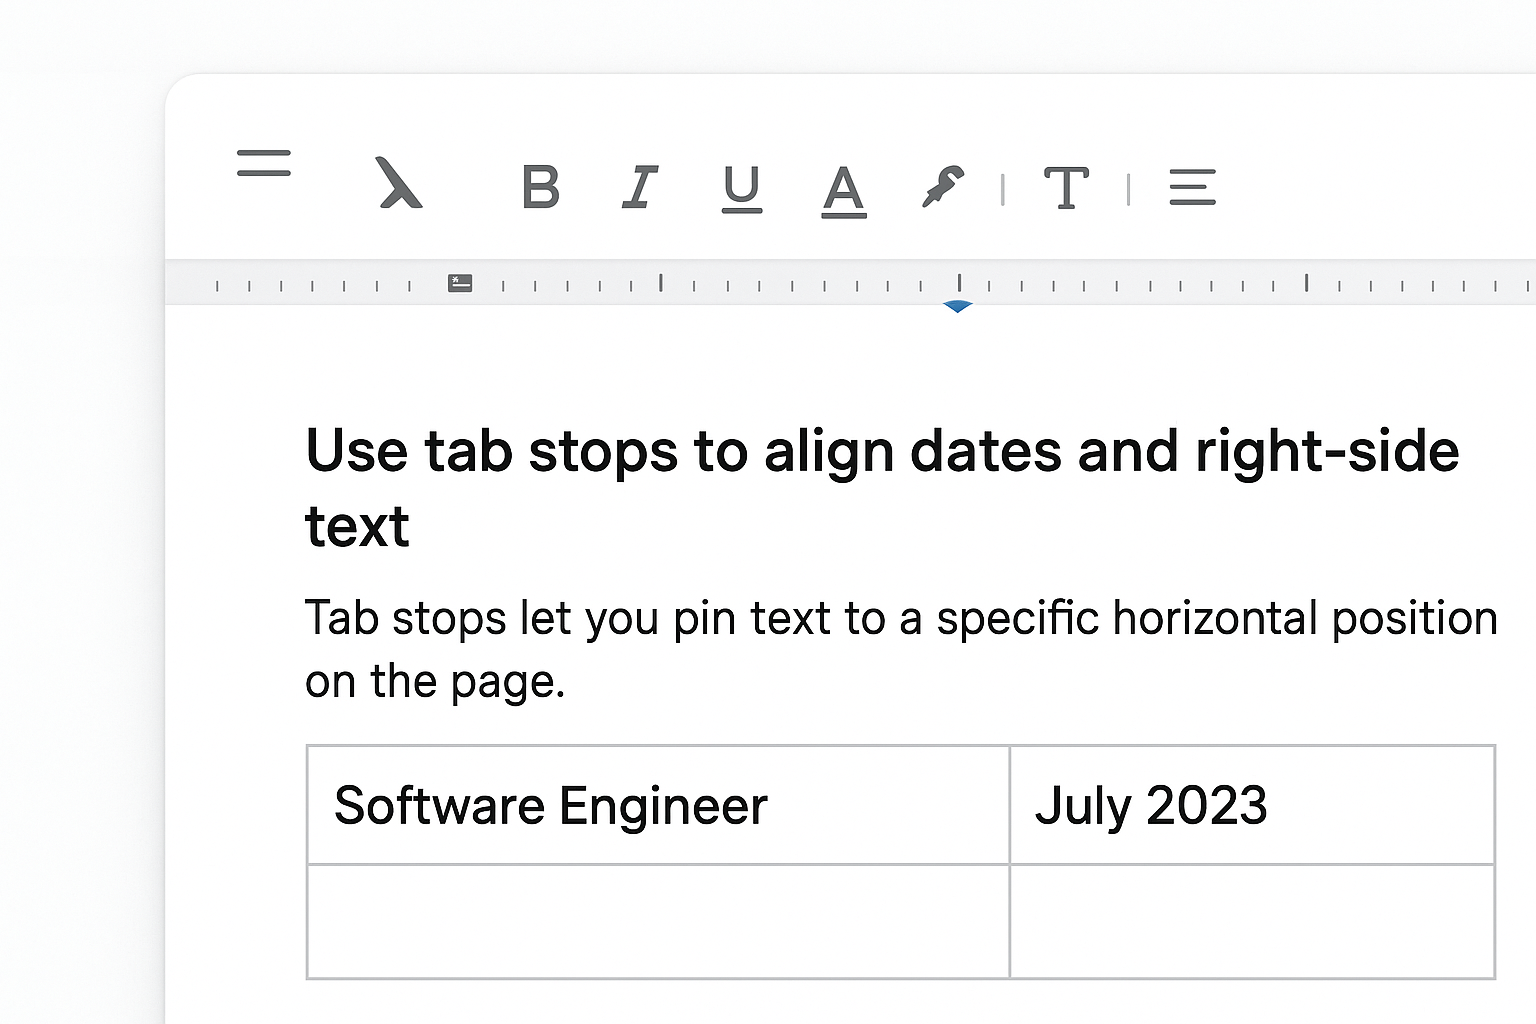
Tab stops let you pin text to a specific horizontal position on the page. To add one, click anywhere on the ruler at the top of the document, then select the stop type: left, center, right, or decimal. For right-aligned dates next to job titles, add a right tab stop at the 6.5-inch mark. Then press Tab after your job title and type the date, and it locks flush to the right margin automatically every time.
This single tab stop technique eliminates the need to manually space dates across every role in the resume.
Use tables to build stable two-column sections
Tables give your layout a fixed structure that holds its shape when content changes. To insert one, go to Insert > Table and select a 2x1 grid. Place your contact details or skills list in the left cell and your summary or credentials in the right. Set the table border to 0pt under Format > Table > Table properties so the grid lines disappear in the final document, leaving only clean, stable, aligned text with no visible formatting artifacts.
Clean up spacing, styles, and section dividers
Once your layout is aligned, inconsistent spacing and mismatched heading styles become the most visible problems in a resume. These details tell hiring managers whether a document was prepared carefully or thrown together. Cleaning up typography and visual structure is a critical step in how to format a resume in Google Docs that most people skip too quickly.
Standardize heading styles and body text
Your resume needs two or three consistent text levels: a name/header style, a section heading style, and a body text style. Set these through Format > Paragraph styles so the same style applies everywhere without manual adjustments. Use the table below as a reference for reliable settings:
| Text level | Font | Size | Weight |
|---|---|---|---|
| Name/header | Calibri or Georgia | 16-18pt | Bold |
| Section heading | Same as header | 11-12pt | Bold, all caps |
| Body text | Same as header | 10-11pt | Regular |
Locking these styles before you finalize content prevents spacing from drifting when you edit text later.
Add section dividers cleanly
Horizontal rules between sections create visual separation without adding clutter. Insert one by going to Insert > Horizontal line. If you want finer control, insert a 1x1 table, set the top border to 0.5-1pt in a neutral color, and delete all other borders. This method gives you precise control over line weight and color, which the default horizontal line option does not.
Export, share, and keep formatting intact
The last step in how to format a resume in Google Docs is getting the file out of the browser without watching your layout fall apart. Tables shift, fonts substitute, and spacing collapses depending on how you export and what the recipient uses to open the file. Knowing the right method for each situation keeps your formatting exactly as you built it.
Export as PDF to lock the layout
PDF is the safest export format for resumes because it preserves fonts, spacing, and table alignment regardless of what device or software the recipient uses. To export, go to File > Download > PDF Document (.pdf). Check the exported file immediately by opening it and scrolling through every section. Pay close attention to right-aligned tab stops and table borders, since these are the most common elements that shift during export.
Always open the downloaded PDF before sending it. Catching a broken layout takes seconds; explaining one to a client takes much longer.
Share a Google Docs link without losing formatting
When you share a live Google Docs link instead of a downloaded file, formatting stays fully intact because the recipient views the exact same document in their browser. Go to File > Share > Share with others, then set the permission to Viewer so the recipient cannot accidentally edit the layout. If your client or ATS system requires a Word file, export via File > Download > Microsoft Word (.docx), then open the .docx file in Word to confirm that tables, tab stops, and heading styles transferred correctly before submitting.
Final checks before you submit
You’ve covered how to format a resume in Google Docs from setup to export, but the final review step is where small mistakes get caught before they reach a client. Open the exported PDF and scan every section for broken alignment, missing spacing, or font substitutions. Confirm that dates and job titles line up correctly across all roles and that section headings are consistent in size and weight throughout the document.
Read the resume against the job description one more time. Verify that key skills and requirements from the posting appear in the experience section, and confirm that contact details are current and accurate. A single wrong email address can cost a candidate an interview.
If you format high volumes of resumes regularly, the manual process adds up fast. Saply automates the full workflow, from template application to job-specific tailoring, directly inside Google Docs, so you spend less time on formatting and more time placing candidates.